 RemoveObjectFromPhoto
How to Remove Flash and Green Glare from Glasses in Portraits
Direct flash can cover eyeglass lenses with white hotspots, while coated lenses can reflect a green cast from screens, LEDs or mixed indoor lighting. Event photographers, families, real-estate teams, conference attendees and anyone taking a quick evening portrait can end up with an otherwise good photo where the eyes are difficult to see.
Real glasses glare before-and-after examples
These examples use the same automatic workflow described in this guide. Dragging or brushing is not required, but every result should be compared with its original.
 Before
 After
Direct camera-flash glare
A direct flash created white hotspots across both lenses. The result should be checked closely wherever the glare originally covered the eyes.
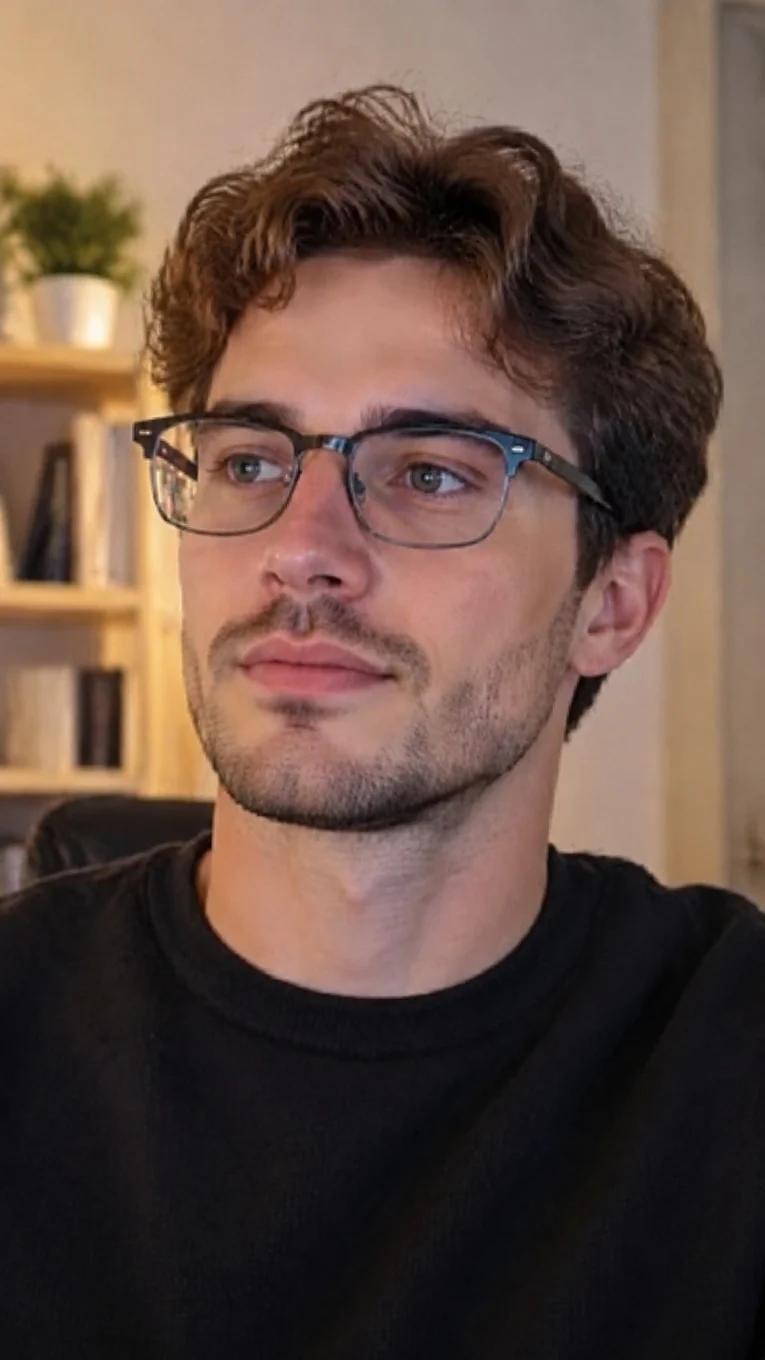
 Before
 After
Green lens reflection
Green reflections can come from lens coatings and mixed light sources. Compare eye colour and skin tone after the correction.
 Before
 After
Glare in a family photo
Group photos require a face-by-face review because one automatic edit can affect more than one person wearing glasses.
Who needs to fix flash or coloured glare?
Families see direct-flash glare at birthdays, dinners and indoor gatherings where the camera chooses a bright flash automatically. Event photographers and conference guests encounter it in dim rooms, and staff portraits taken quickly against a dark background can show the same white reflection.
Green glare is common with anti-reflective lens coatings, computer monitors, LED lighting and mixed colour temperatures. It may appear as a green patch even when the rest of the face looks natural.
White flash glare and green glare are different problems
A flash hotspot is usually bright, neutral and sharply defined. It can remove nearly all visible eye detail in a small area. Green glare may cover a broader part of the lens and can change the apparent colour of the eye or nearby skin.
Do not correct either problem by painting a generic eye over the lens. The goal is to reduce the reflection while preserving the existing gaze, eyelids, frame edges and facial proportions. When the source contains no reliable eye information, another photo is safer.
Step-by-step automatic processing
Use the highest-quality source file available and keep an untouched copy. Upload the JPG, PNG or WebP to the automatic glasses glare remover, then start processing. You do not need to describe the flash, select a colour or brush over the lenses.
After the result appears, compare it with the original rather than judging it alone. Inspect the eyes at full size, then zoom back out to confirm the correction still looks natural in the whole portrait. Download only after both views look consistent.
How to review a flash-glare correction
Check whether the pupils point in the same direction and whether the eyelids and eyebrows retain their original shape. Follow the bridge, nose pads and outer frame edges for bends or missing pieces. On a dark portrait, confirm that the background and face brightness have not been globally lifted.
If only one lens was heavily obscured, compare the reconstructed eye with the visible eye for scale and alignment—but do not expect perfect symmetry, because real faces and expressions are not symmetrical.
How to review green-glare removal
Compare iris colour, whites of the eyes and skin beside the lenses. A correction should not replace green glare with a grey smear or remove the natural lens tint entirely. Look for remaining green edges near the frame and for colour shifts in hair crossing the glasses.
Screen reflections may contain shapes or text as well as colour. If those details cover the full pupil, the model has less evidence for an accurate reconstruction.
Family and group photos need a separate pass
In a group photo, inspect every face—not only the person whose glare first caught your attention. Check each pair of glasses, gaze direction, expression and nearby hair. A small preview can hide changes on a background face.
Use another frame from a burst or group sequence when one person’s eyes are fully blocked. The best group-photo correction preserves everyone’s identity and expression; removing a reflection is not worth changing a face.
Reduce the problem during capture
Turn off direct flash when ambient light is sufficient, bounce the flash from a ceiling where appropriate, or move the flash off the camera axis. Ask the subject to tilt the frames or chin slightly without changing the pose unnaturally.
For green reflections, reduce nearby screen brightness, move coloured LEDs and change the subject’s angle to the dominant light. Take two or three variants so you have a clean alternative before relying on reconstruction.